Mac Setup v2
My 2015 MBP 13" was giving me some pain over this entire semester, lagging a lot and being very slow overall. I recently upgraded to a 16" MBP, and there have been no complaints so far :) the notch is simply not there if you have a black desktop background, so +1 to apple for that. Although face ID would have been nice to have.
Setup
Basic intro Screen
- Dark Mode

- Don’t set up Siri, or Stage Manager
- Dark Mode
Home Directory and Username renaming
- MacOS uses a lowercase first letter, even if you’ve input an uppercase one while making your username. The way to change this is a bit complicated, but follow the instructions here
System
PreferencesSettings- Turn off autocorrect
- Function keys are function keys, and not ‘do weird stuff’ keys
- Don’t switch to a workspace which has an open window of the application
- Make 10 workspaces and activate all the ^(n) hotkeys to switch to them
- Change the date/time format to
Day HH:MM:SSin control center - Remove some stuff from control center, put keyboard brightness there
- Turn off the ‘quick note’ bottom right hot corner
Accounts
- IITD
Applications
- XCode CLT
- Firefox
- VS Code (don’t use this much)
- Kitty (with the cuter icon)
- Calibre
- TG Pro
- The Unarchiver
- Shottr
- Hidden Bar
- TinkerTool
- Hide dock, and delay in showing it
- Remove ‘recent apps’ section in Dock
- Rectangle
- Bandwidth+
Brew Packages
- Neovim
- htop
- gcc
- openmpi
- miniforge
Kitty Setup
- Download the Meslo zipfile from here, and install all the fonts.
- Copy over the
kitty.conffrom my previous machine. Works out of the box (just darkened the background a bit more, as the new mac has a brighter display)
- Install Powerlevel10k after this
- Follow the setup guide for Powerlevel10k according to liking. I use a one- line prompt, with no repeats
Firefox setup
- Default browser
- Login to firefox account to sync plugins
- TabbyCat
- uBlock Origin
- Tampermonkey
- Get UserScripts and load into Tampermonkey
Spaces Renamer
- Probably the hardest part of the setup.
- TL;DR follow the procedure here. Requires disabling SIP and library validation, and then loading in spaces renamer. You’ll be asked to download rosetta at this point as well.
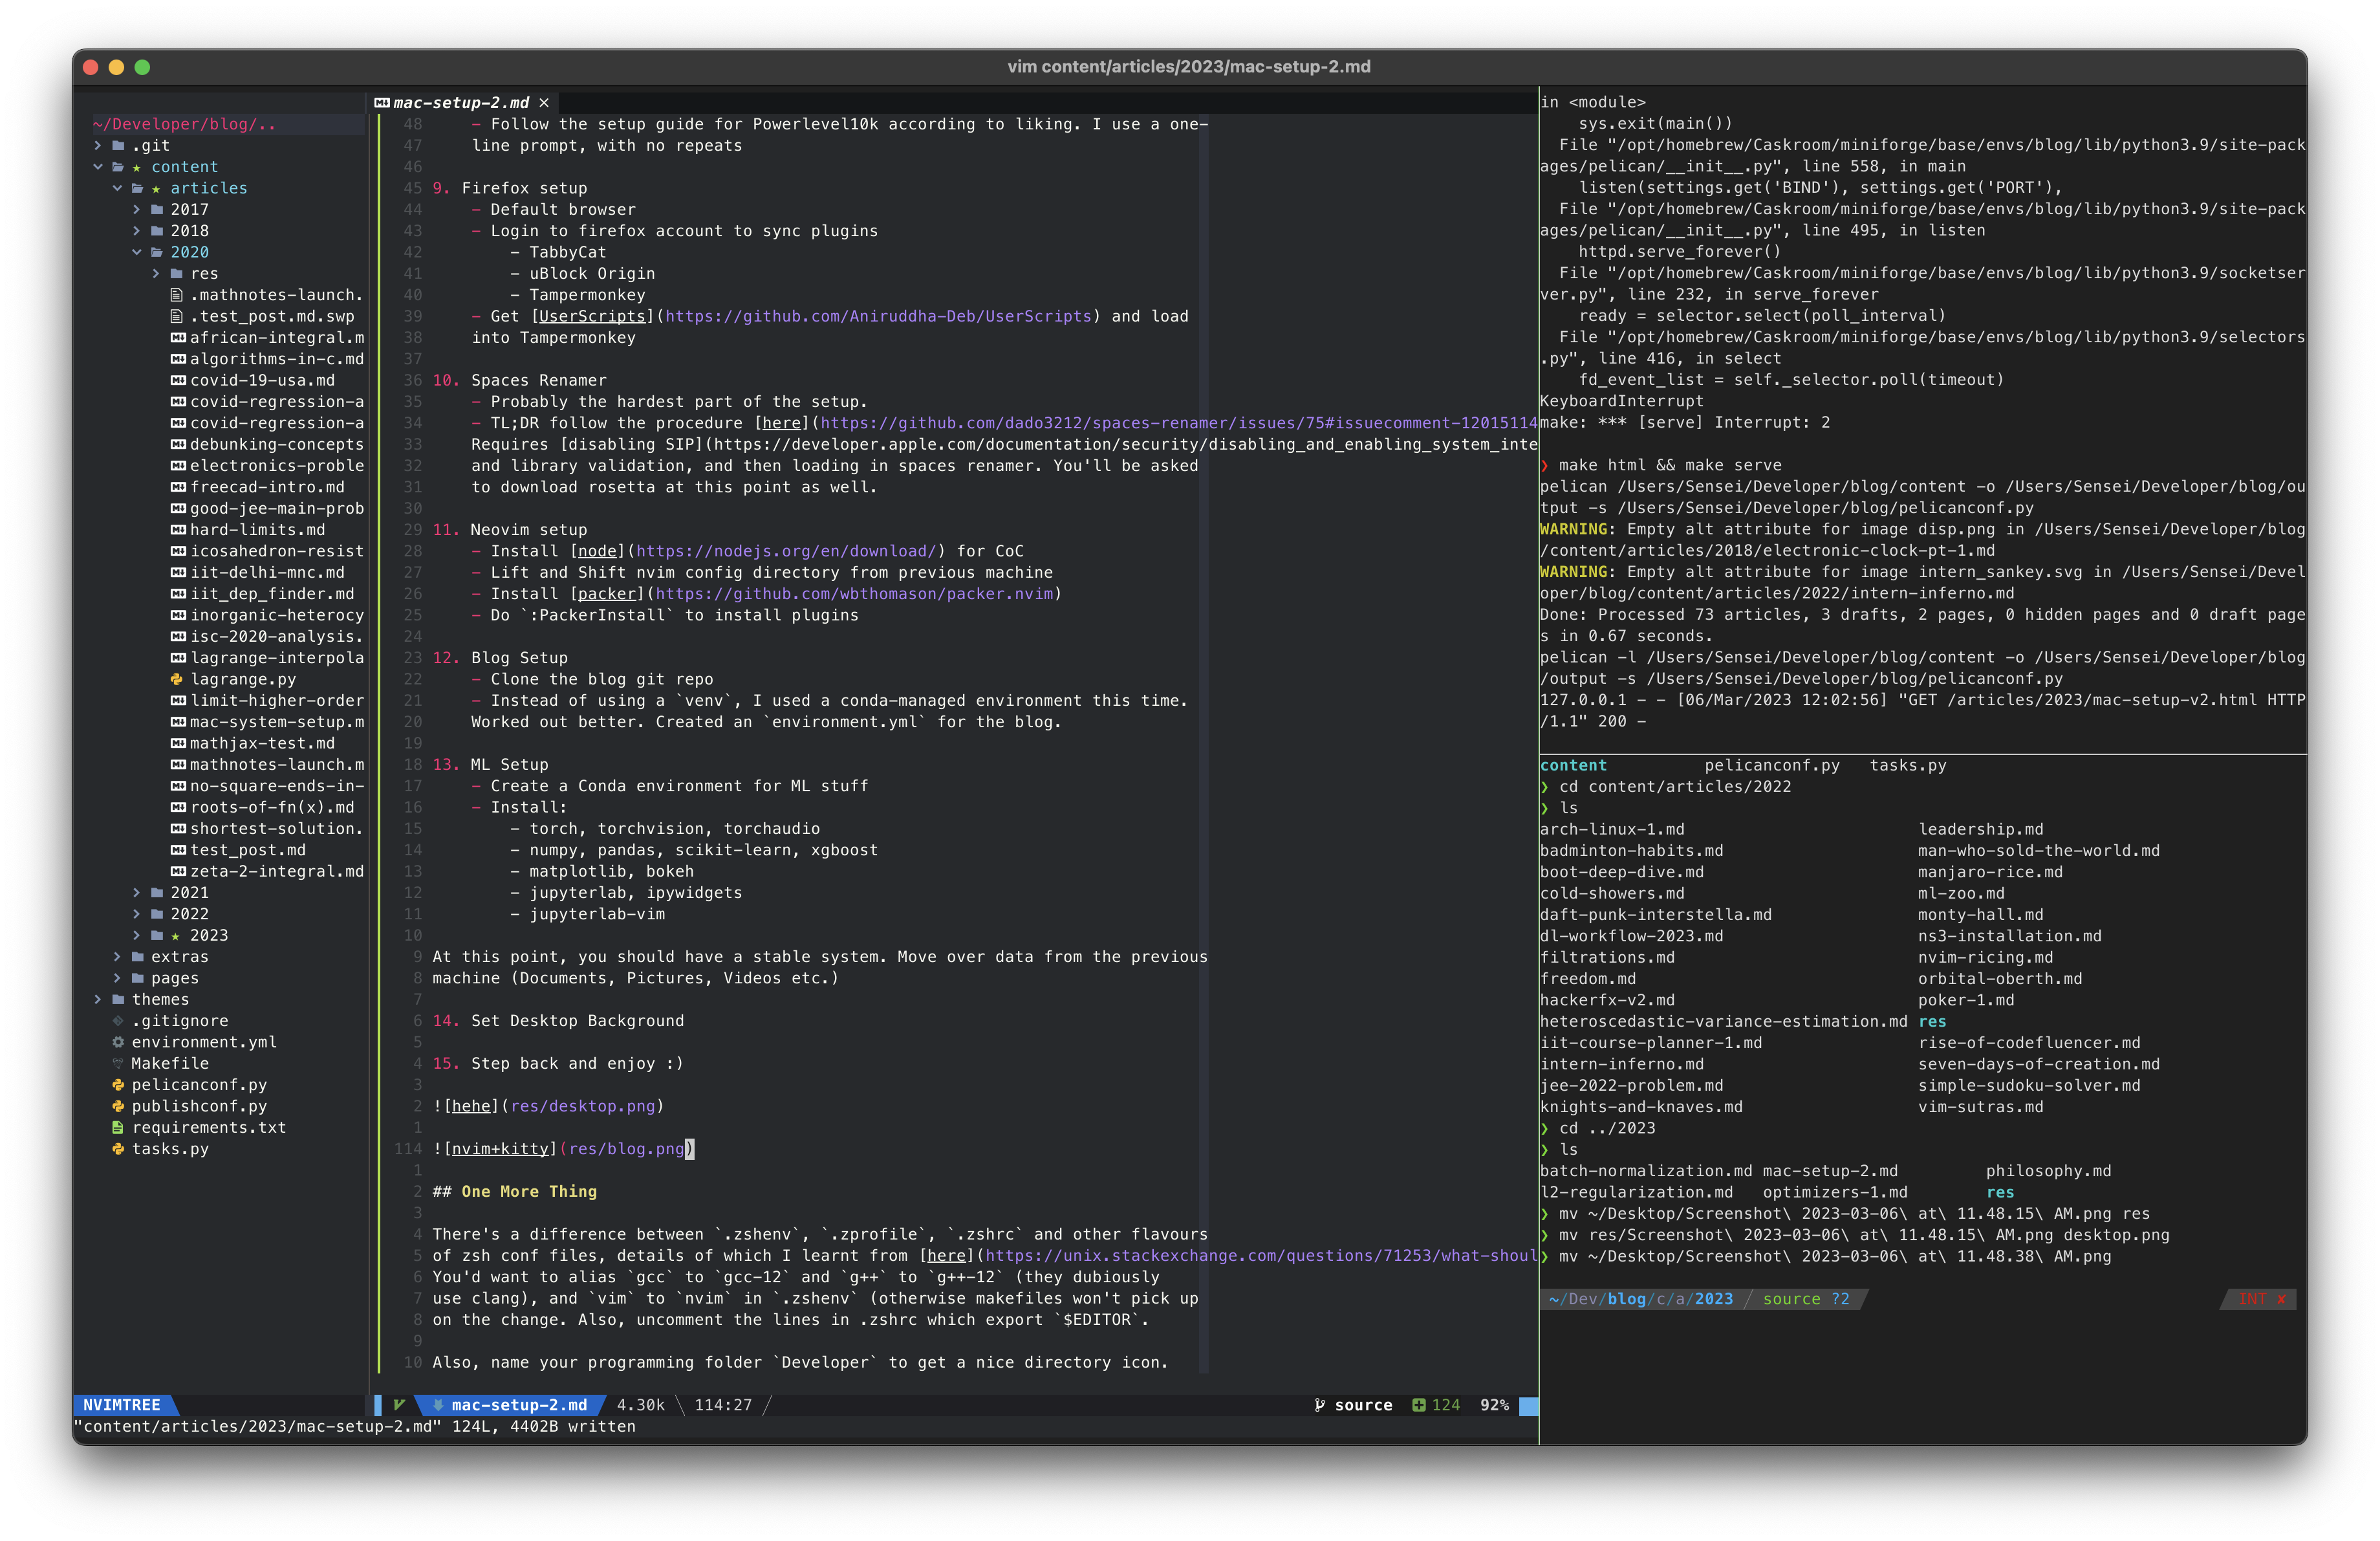
Neovim setup
Blog Setup
- Clone the blog git repo
- Instead of using a
venv, I used a conda-managed environment this time. Worked out better. Created anenvironment.ymlfor the blog.
ML Setup
- Create a Conda environment for ML stuff
- Install:
- torch, torchvision, torchaudio
- numpy, pandas, scikit-learn, xgboost
- matplotlib, bokeh
- jupyterlab, ipywidgets
- jupyterlab-vim
At this point, you should have a stable system. Move over data from the previous machine (Documents, Pictures, Videos etc.)
Set Desktop Background
Step back and enjoy :)
One More Thing
There’s a difference between .zshenv, .zprofile, .zshrc and other flavours
of zsh conf files, details of which I learnt from here.
You’d want to alias gcc to gcc-12 and g++ to g++-12 (they dubiously
use clang), and vim to nvim in .zshenv (otherwise makefiles won’t pick up
on the change. Also, uncomment the lines in .zshrc which export $EDITOR.
Also, name your programming folder Developer to get a nice directory icon.
EDIT (9 Mar): Moved from CoC to nvim-lspconfig and cmp-nvim, and to
treesitter-based syntax highlighting. Feels marginally better, and got the
chance to hack at my vim config after a long time.